DIY Travel Games With Glitter Gems
For your convenience, this post contains affiliate links. I participate in the Amazon affiliate program; if you make a purchase using one of these links, I may receive a small commission, at no additional cost to you.
Sometimes you need small ways to entertain your kids. Waiting at a restaurant. During rest period at the pool (when they aren't raiding the entire pantry's worth of snacks that you brought along). In the car. ESPECIALLY in the car. I mean, there are only so many rounds of "I Spy" or the ABC spotting game you can play before everyone gets bored.
So, partly because my kids are always wanting to do a project, but mostly in anticipation of our 13-hour drive for vacation, I decided we should make these easy travel games with glitter gems.
These are nice because they're two games in one and they're small & contained, which makes them easy to toss in a bag or purse and pull them out when you need them. And, also, aren't those glitter stones pretty? To make them, we used:

- Clear glass gems
- Glitter
- Mod Podge
- Muslin bags
- Fabric markers
- Paint brushes (cheap ones to brush on the Mod Podge)
- a 4x6 index card/piece of cardboard
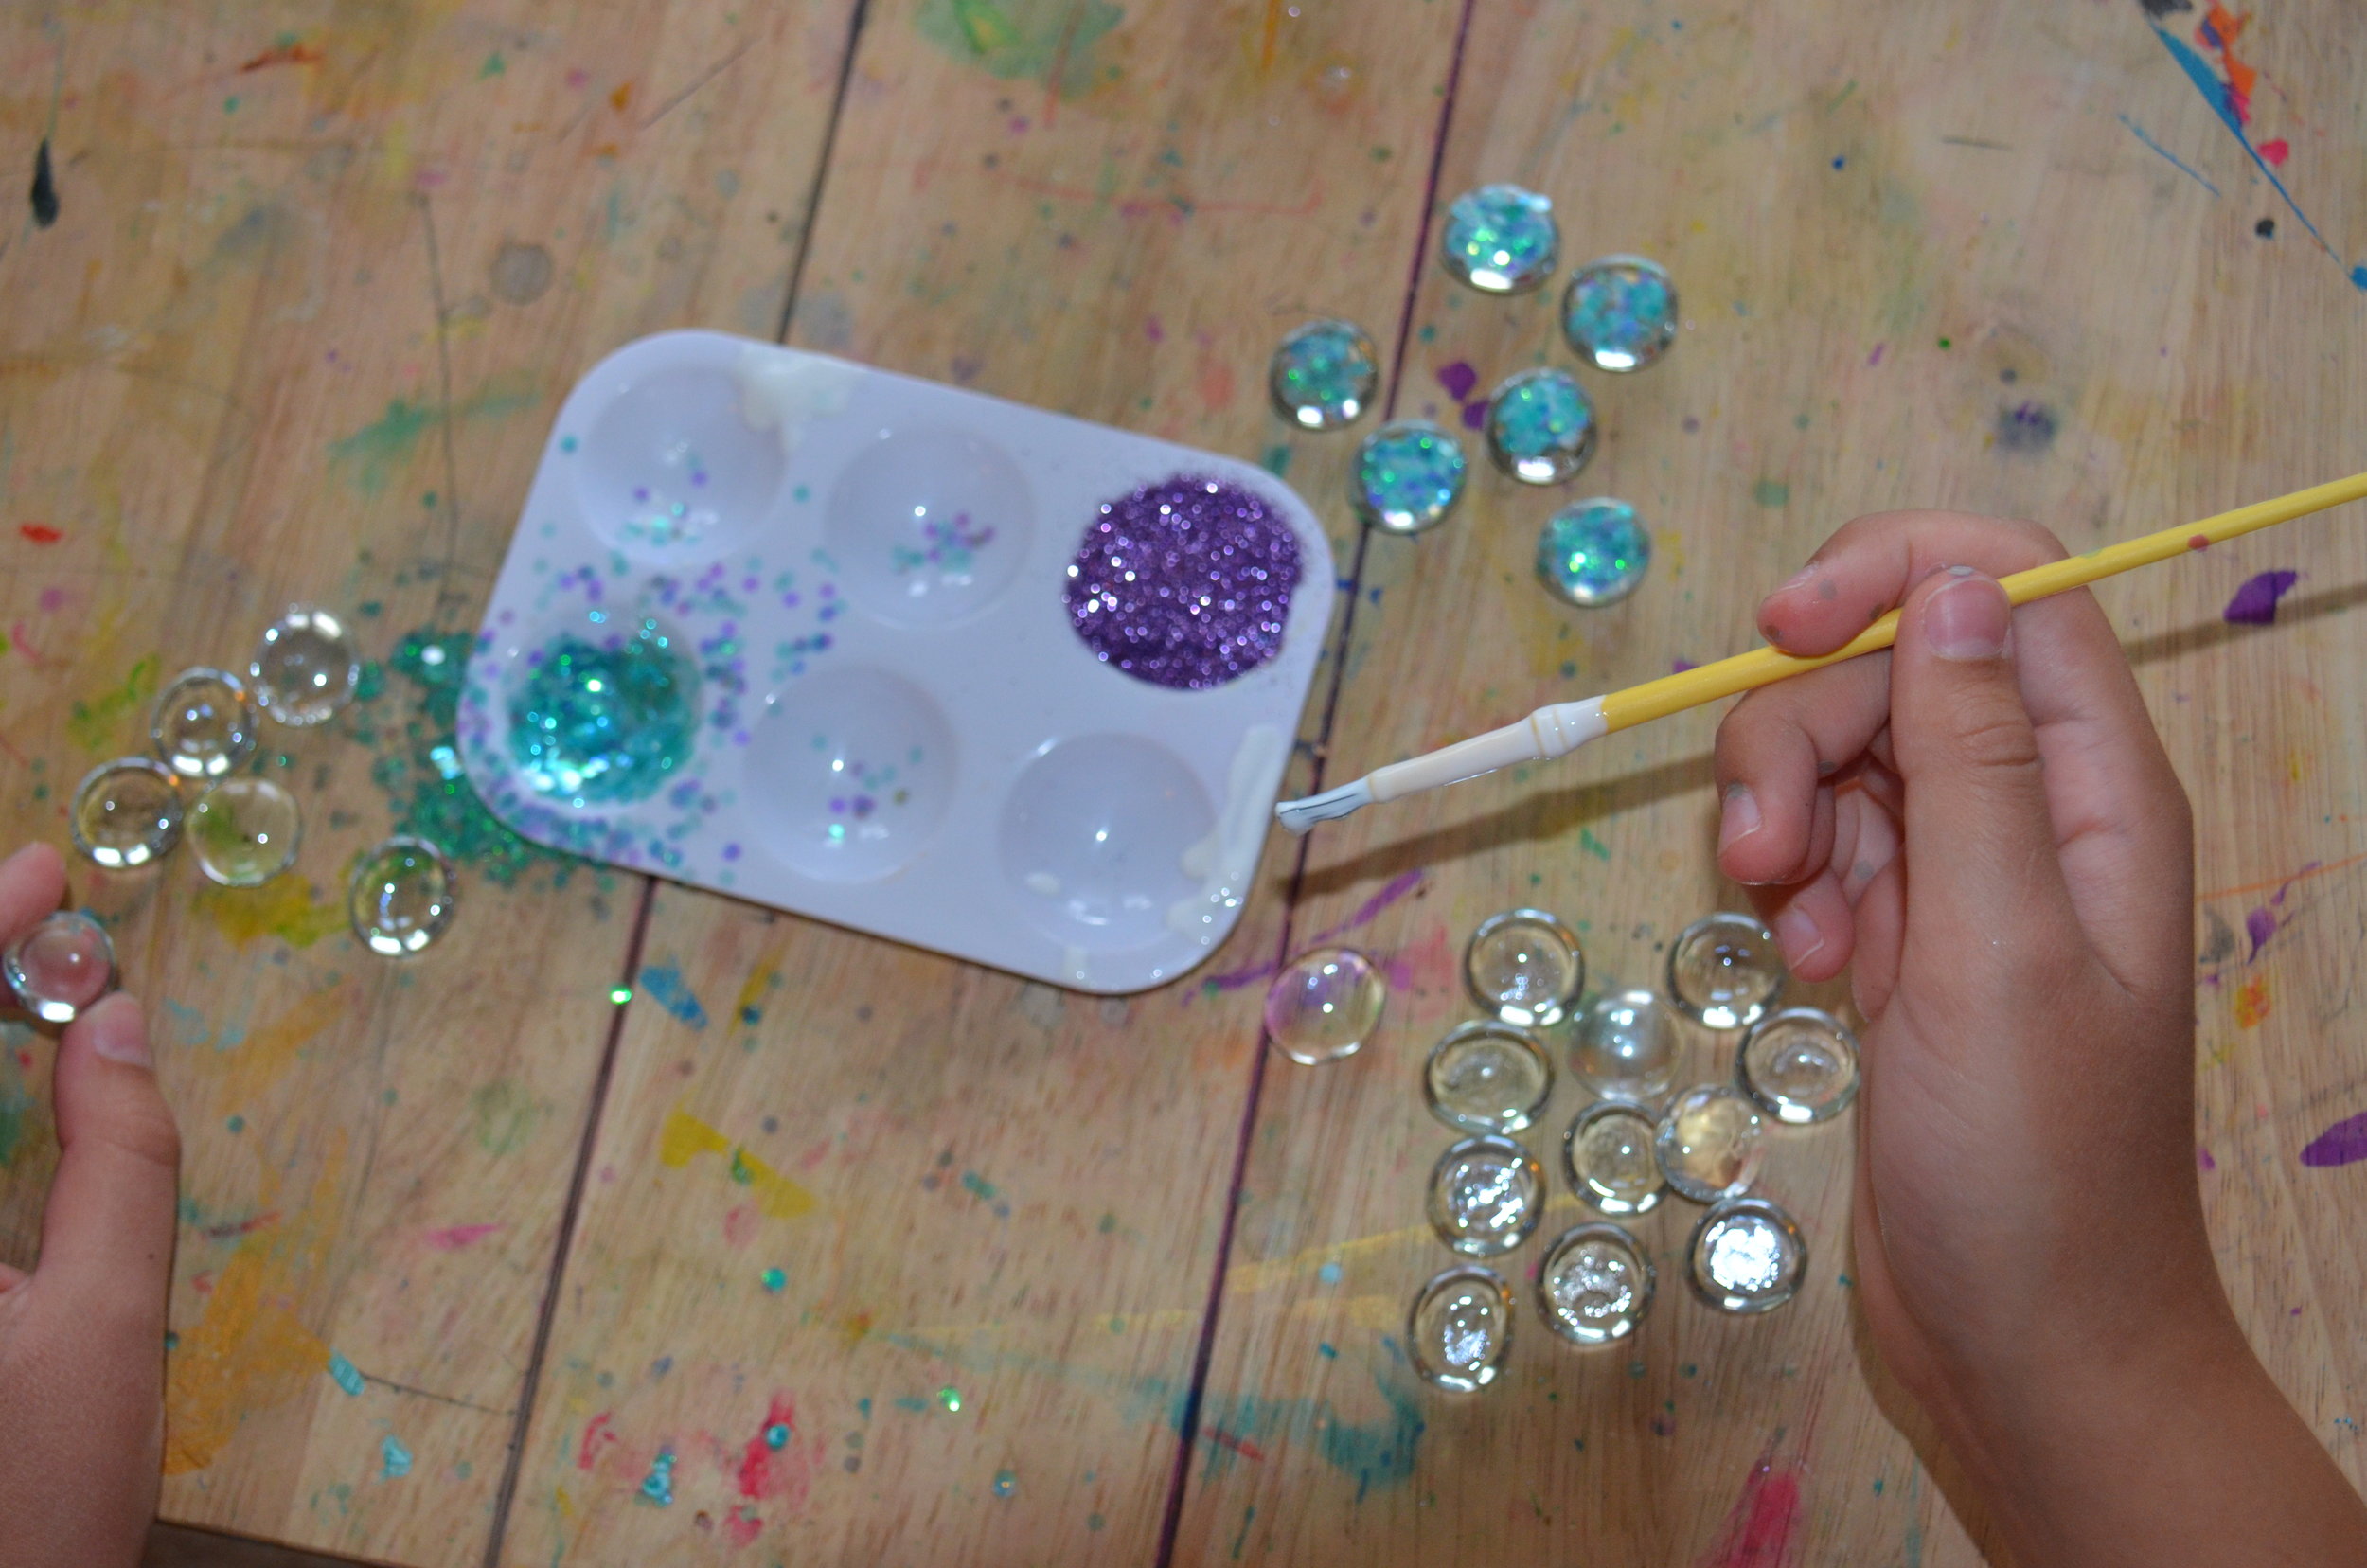
I gave each of the kids 24 glass gems and let them pick two colors of glitter, which we poured into small paint palettes. The kids painted the bottom (flat side) of each gem with a thin layer of Mod Podge, then dipped them in the glitter, making 12 gems of each color.
You could also use E6000 glue, but since the kids were working with it, I was more comfortable using Mod Podge. We also used both chunky and fine glitter. Originally, I thought the chunky glitter would work best, but it turned out that the fine glitter covered the bottoms better. If you're using chunky glitter, be sure to push down on the gems so that they pick up enough glitter to cover the whole bottom.

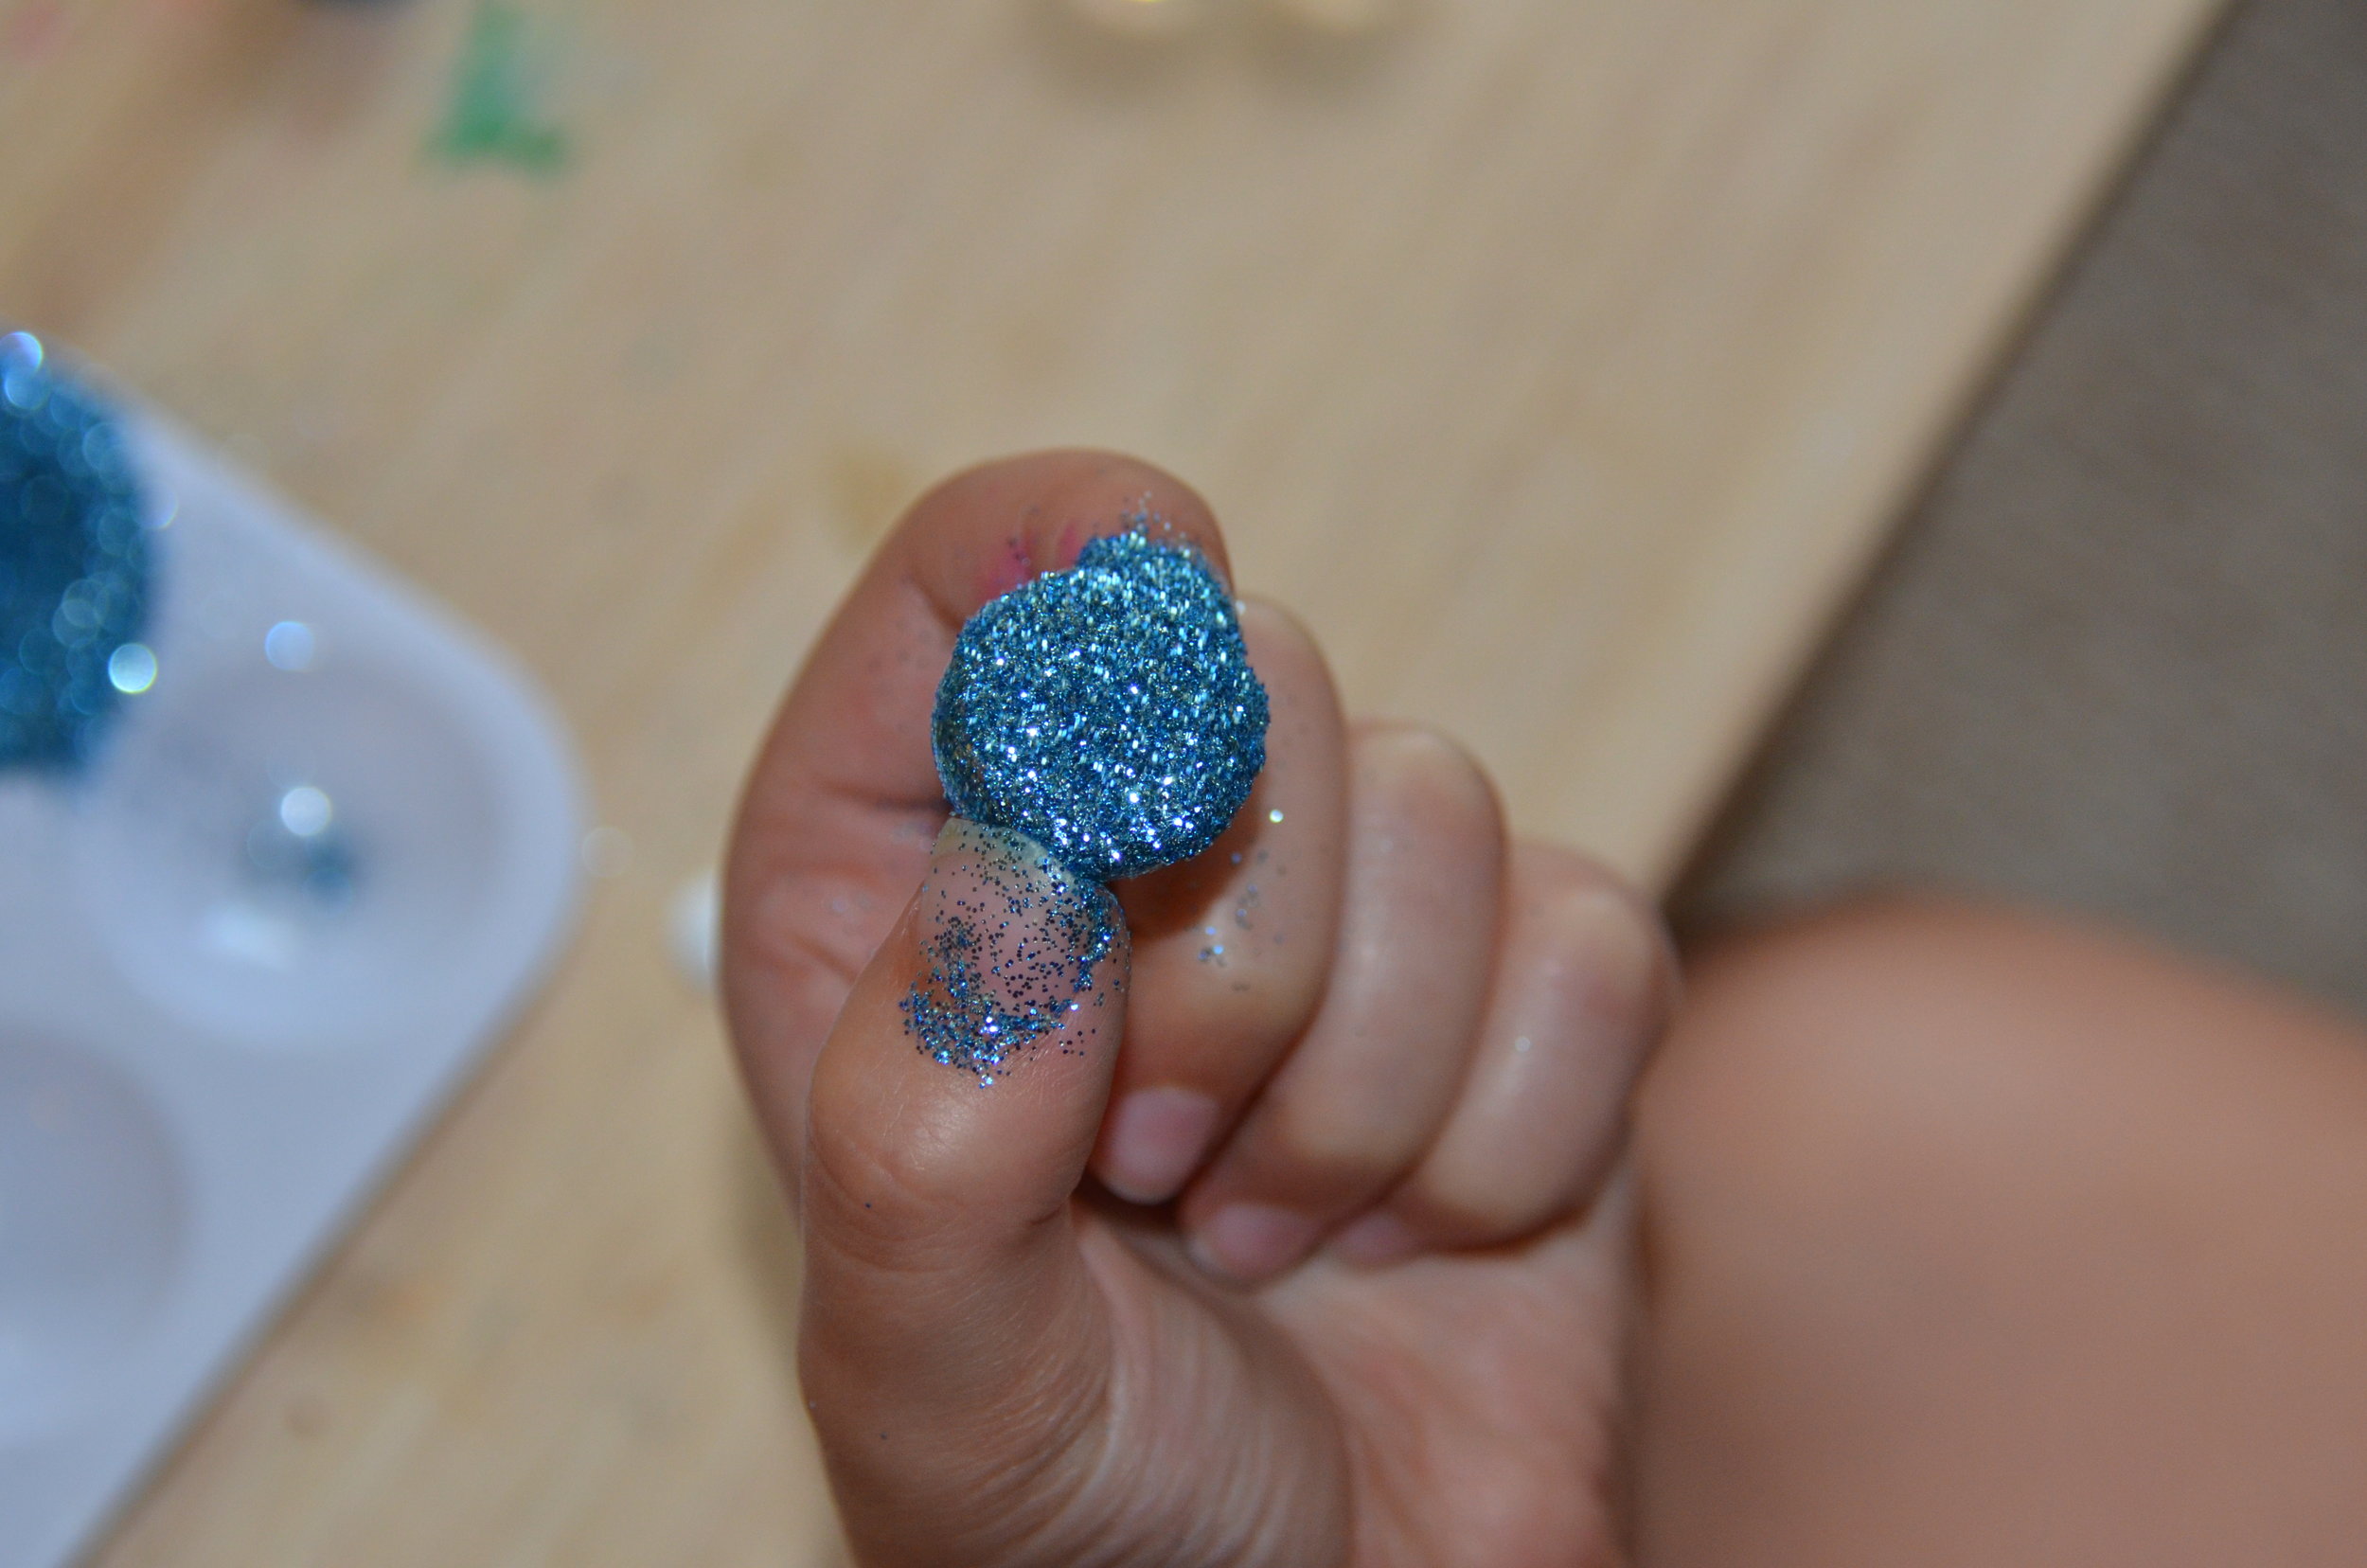
After dipping the gems, we wiped off any excess that came up on the edges. With the chunky glitter, we had to push any pieces that were hanging past the edges back onto the base of the gem.
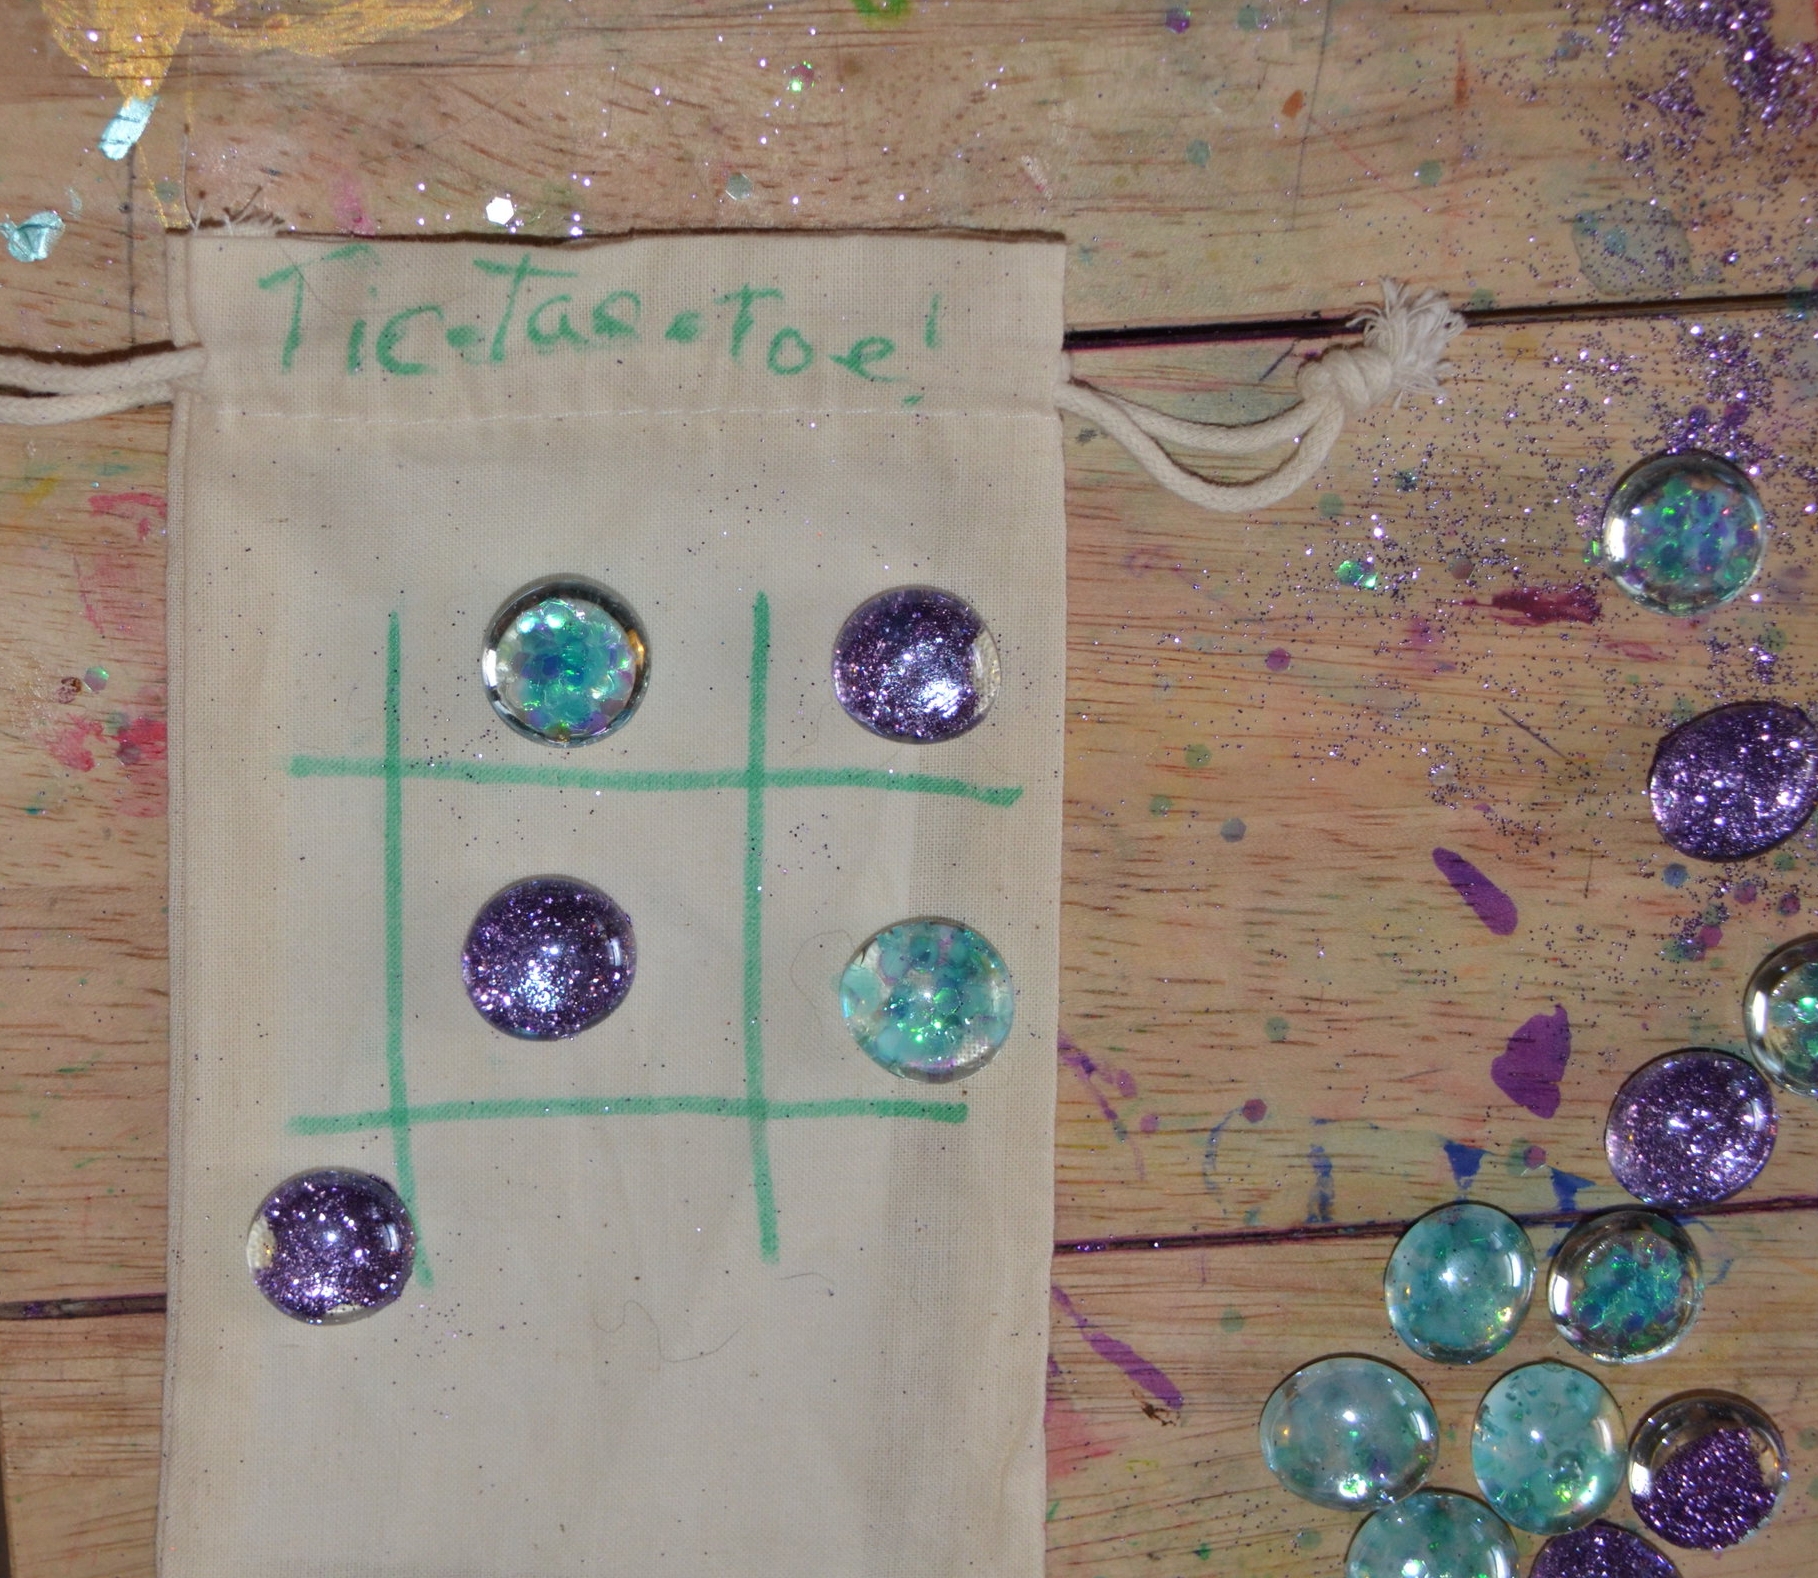
Lay them upside down on the table to dry. Mod Podge dries pretty quickly, but just to be sure (since the glue was completely covered by glitter ), we left ours to dry overnight. While the glue is drying, you can use fabric markers (or a Sharpie would work as well) to draw your game boards on your muslin bags. We put a 4x6 index card inside the bags before drawing on them so that the color would not bleed through to the other side of the bag. On one side, the kids each drew a tic-tac-toe grid.

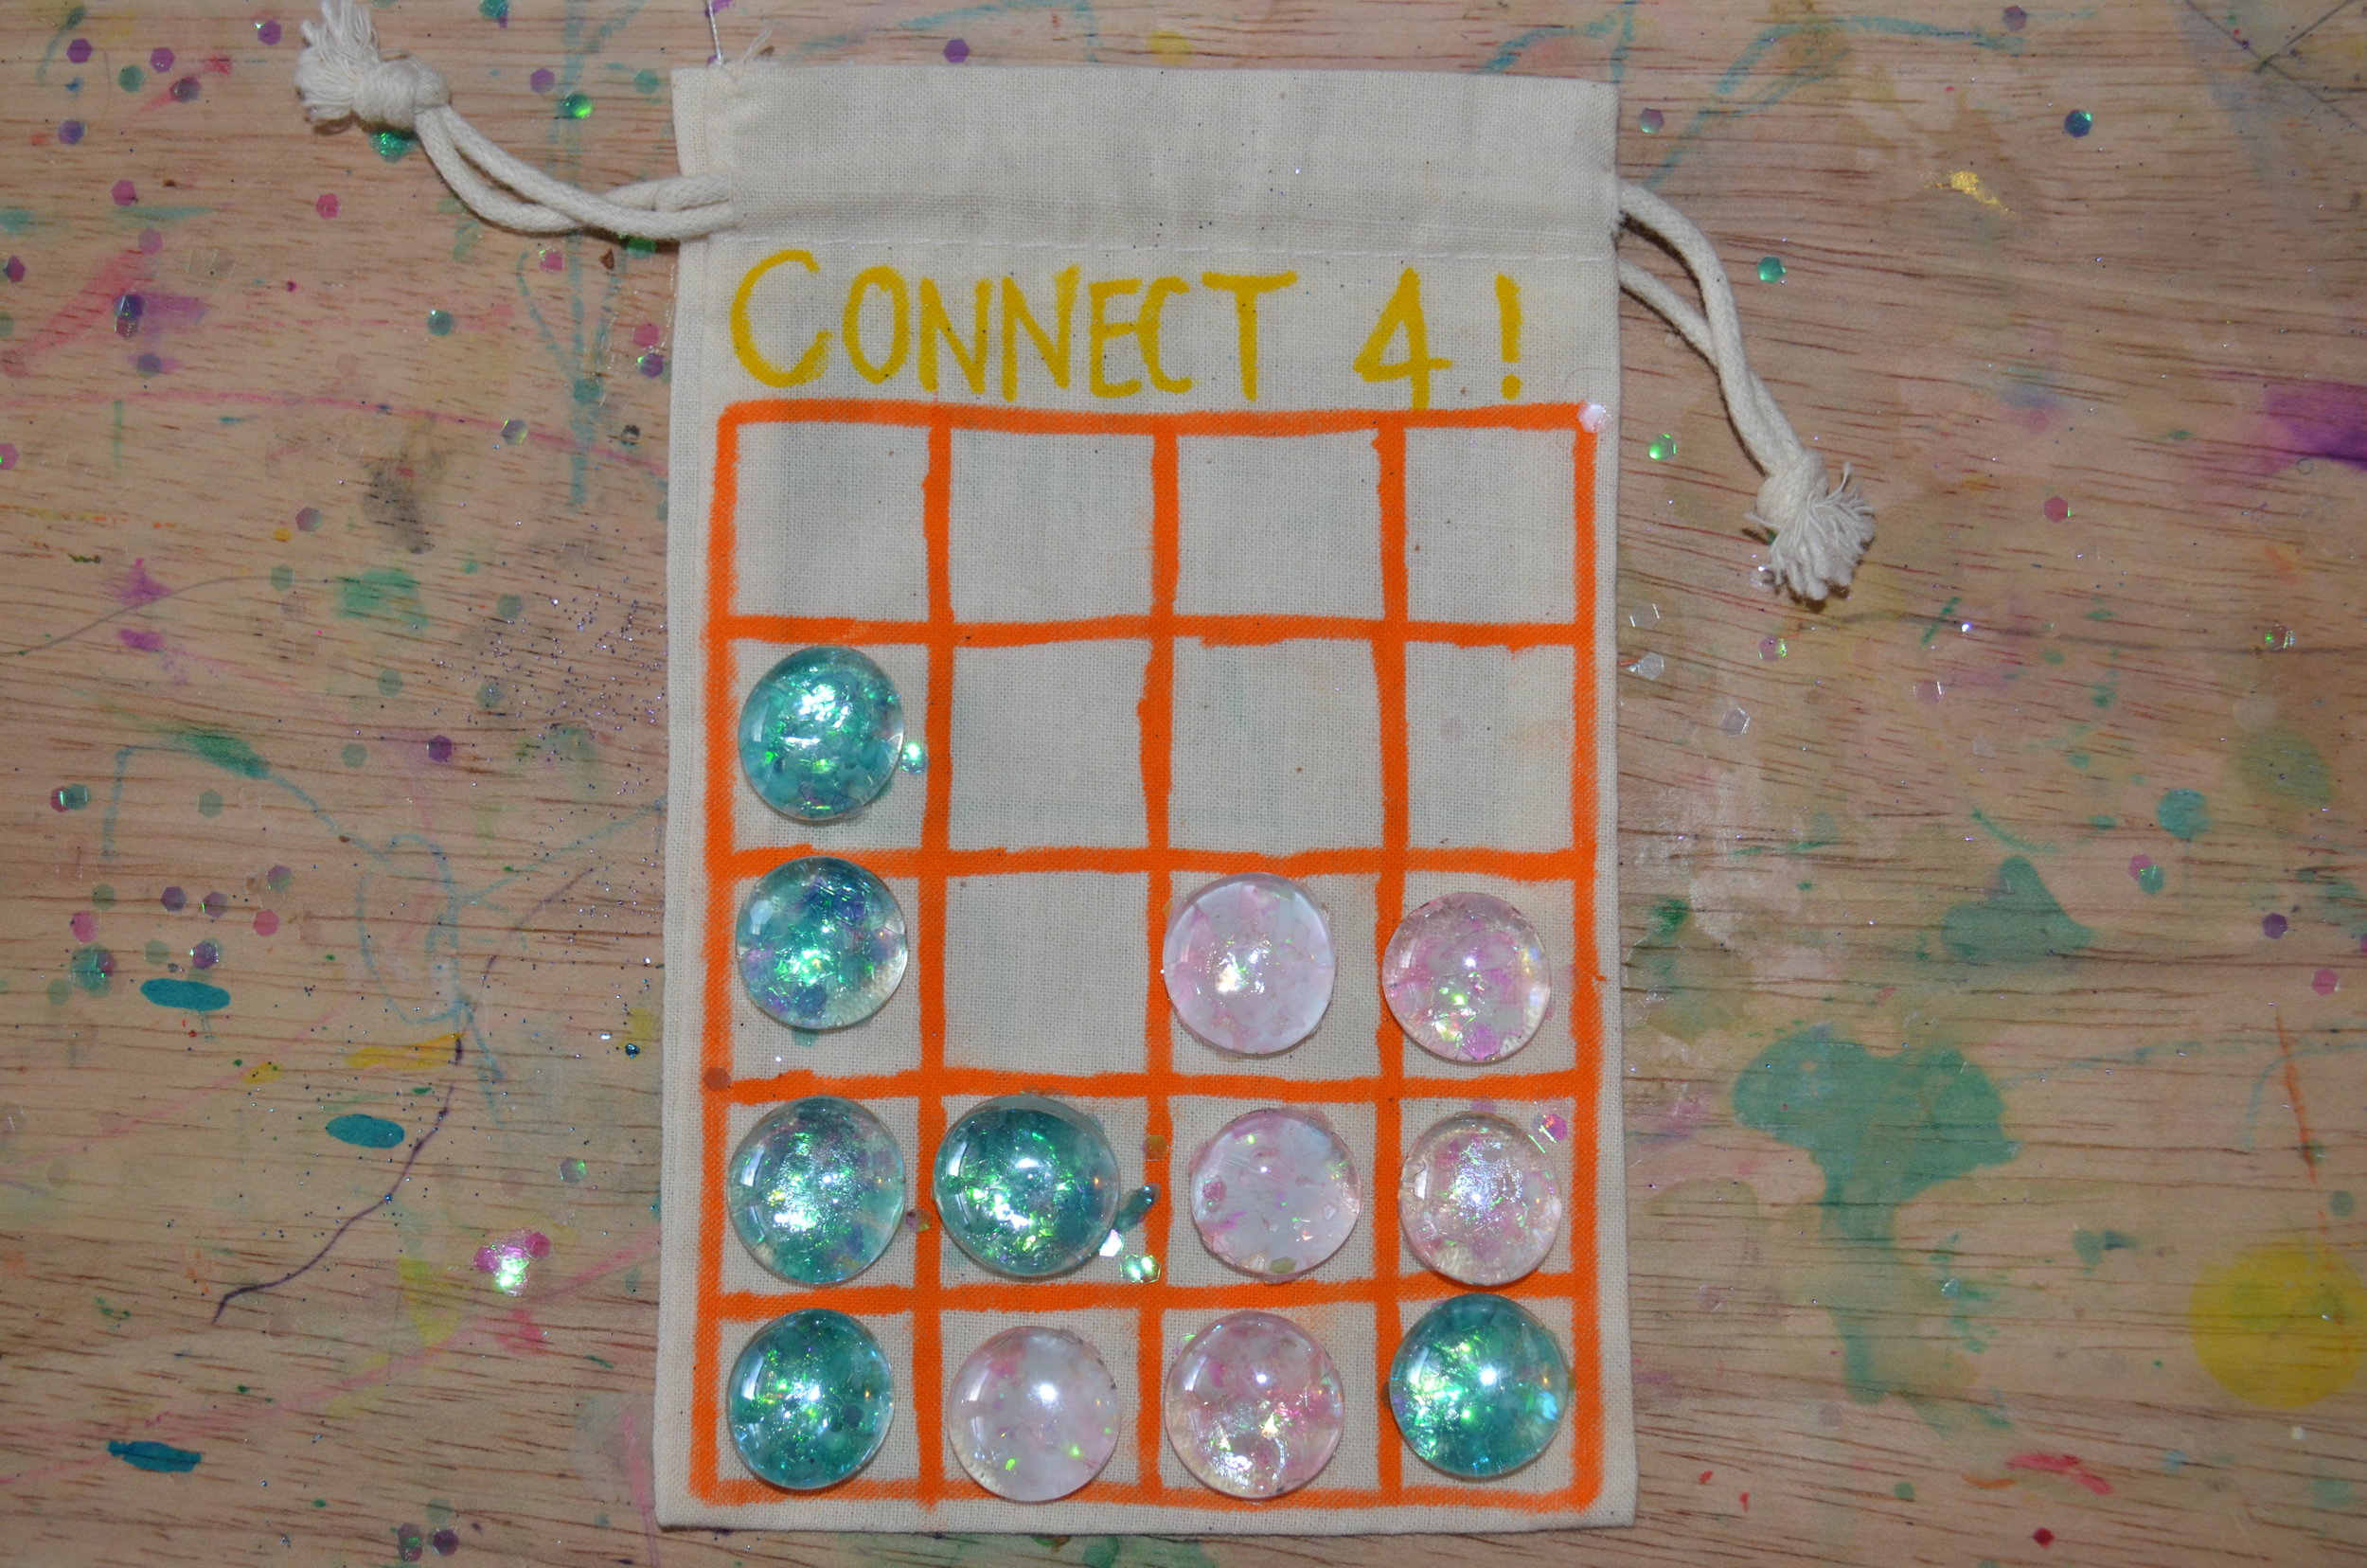
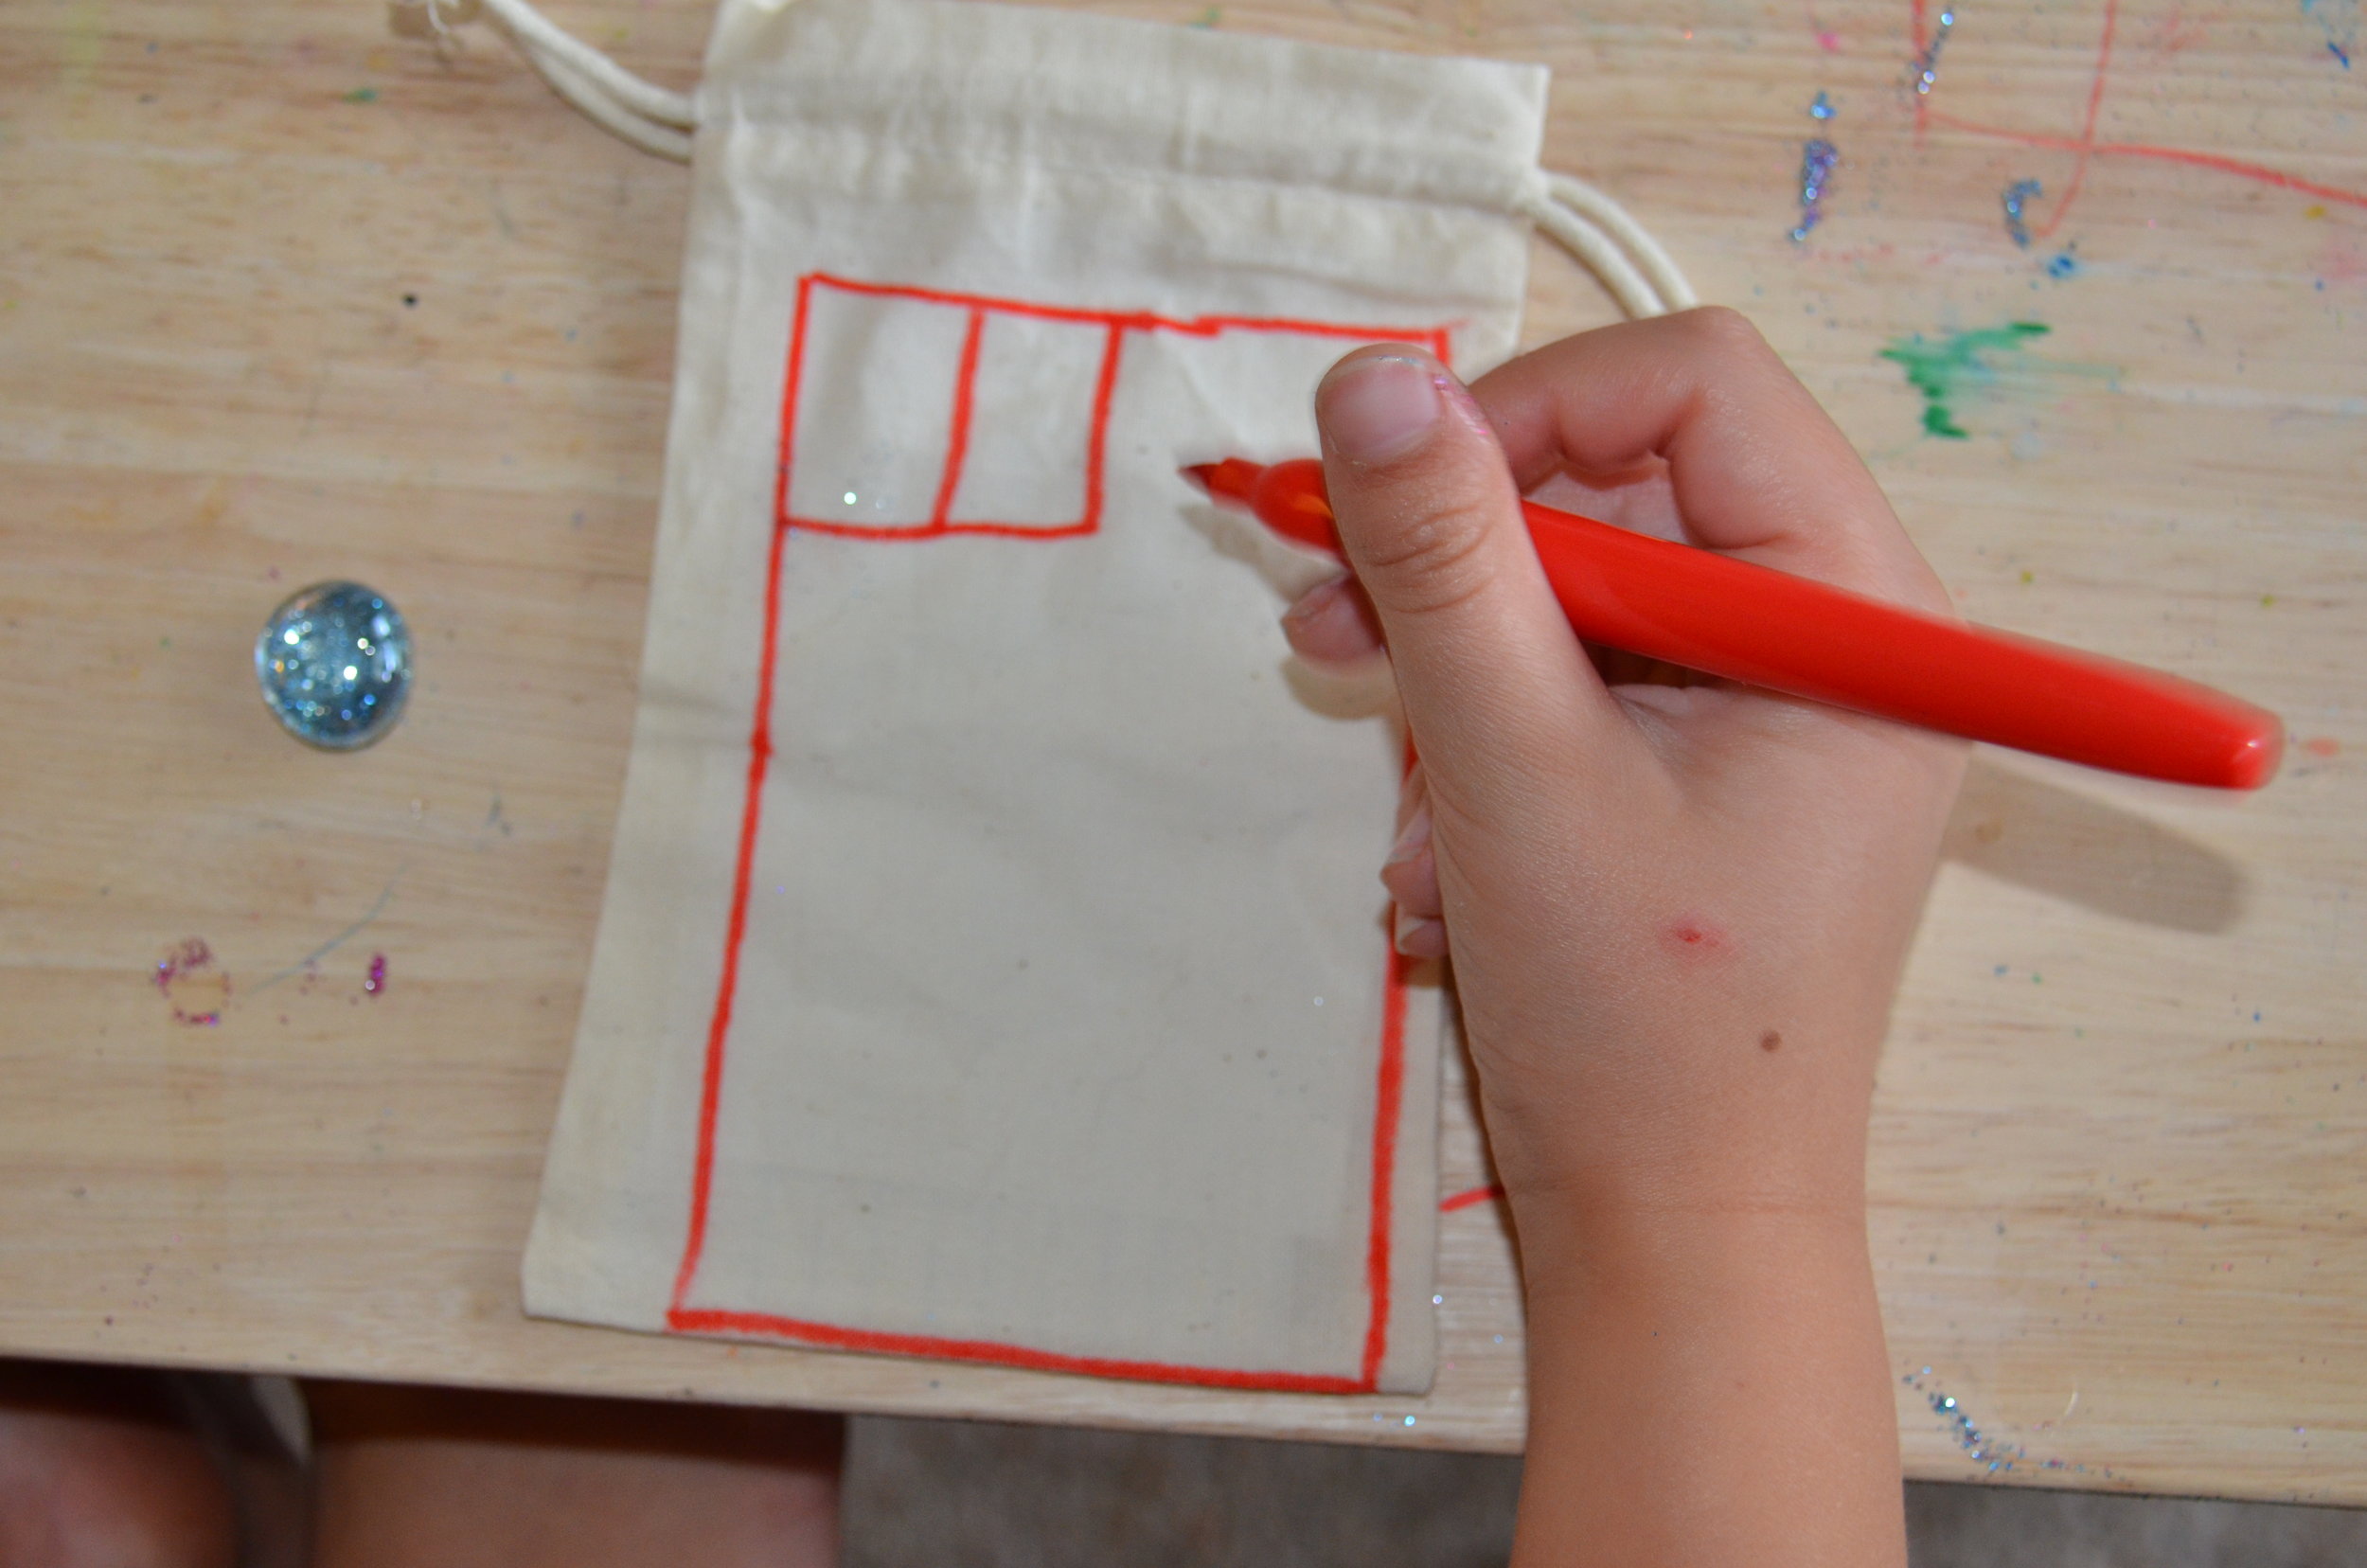
On the other side, we drew a 4x5 grid to act as a Connect Four board. The girls did their own, but I had to help Theo with his; I just used an extra glass stone as a size guide for each box.

Once the glue under your glitter is dry, shake or brush off any excess glitter, then paint another thin layer of Mod Podge over the top to seal it all in. Let the second layer dry for a couple of hours and you're ready to play!

Note: to play Connect Four, the starting player must place his or her stone in the bottom row of the grid. Play continues as players take turns placing stones next to or above stones already in play to either block another player's move or attempt to get four of their own stones in a row (horizontally, vertically, or diagonally). First player to get four in a row wins.