Elegant and Easy Boho Floral Wreaths
When we bought our house, I was thisclose to the end of my pregnancy with our oldest daughter, and we wanted to be in and settled before she made her grand entrance. Because of that, we only took the time to paint and put together the kids' rooms before moving in. That was a little over 10 years ago, and in that time, while I've done a lot in the rest of our house, their bedrooms have seen little change. Since we've added two more children to our family, and since they are all getting a little older, it's time for their spaces to get some updates.
The girls decided that they would like to do their room in gold, coral, & navy, and I'm leaning in the direction of floral and whimsical and a little bit boho. As I was searching for a little bit of inspiration, I came across this post over at 100 Layer Cake-let, and fell in love with the simple floral wreaths used. And I thought they'd be perfect, so I decided to make some for the girls' room!
So I did. And I love them. And I think you might love them, too, so I'm sharing with you a quick tutorial on how I made these SUPER simple wreaths!
Let's get started! You will need:
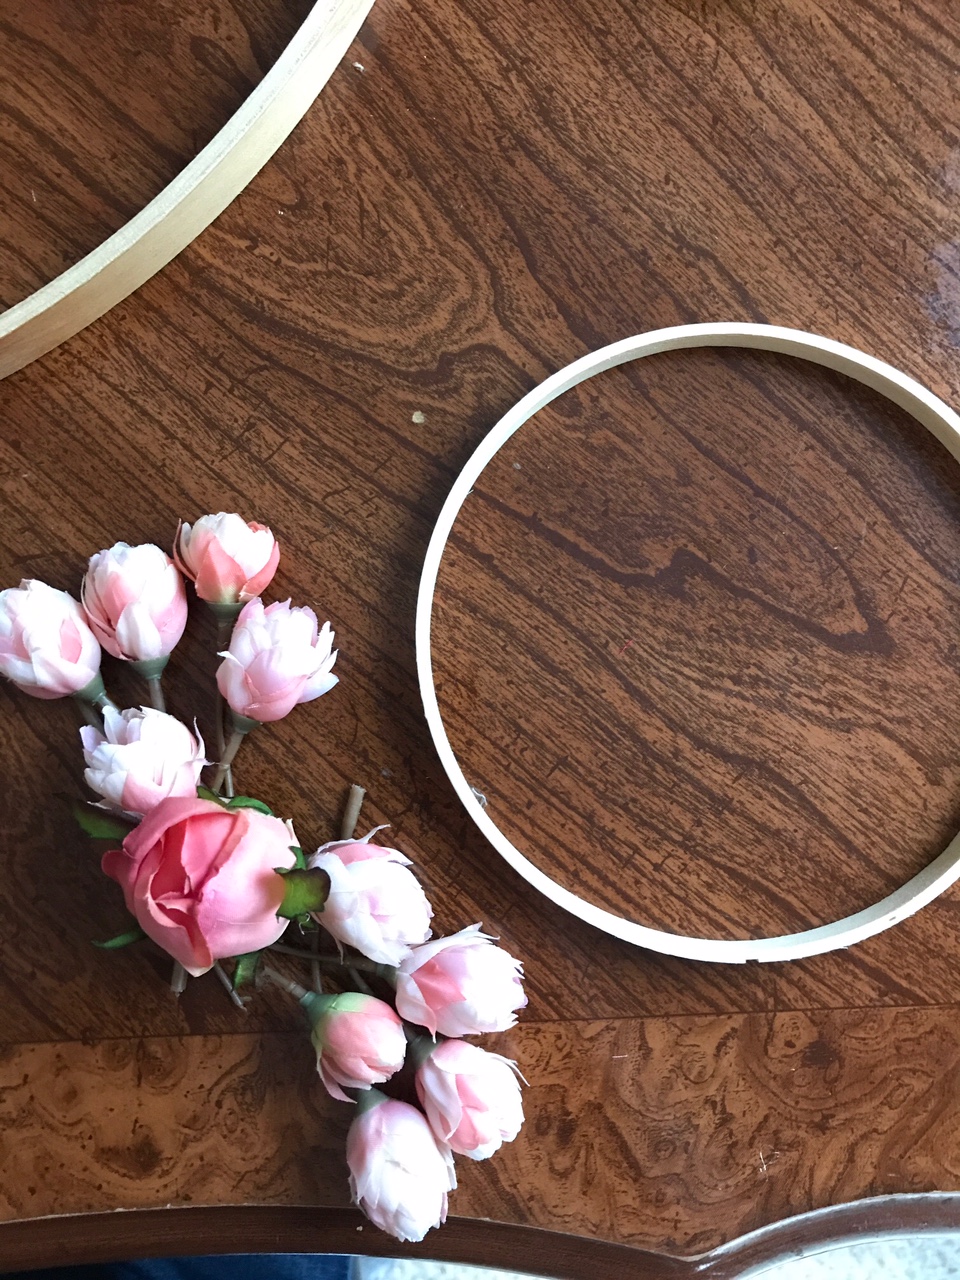
- Embroidery hoops of various sizes
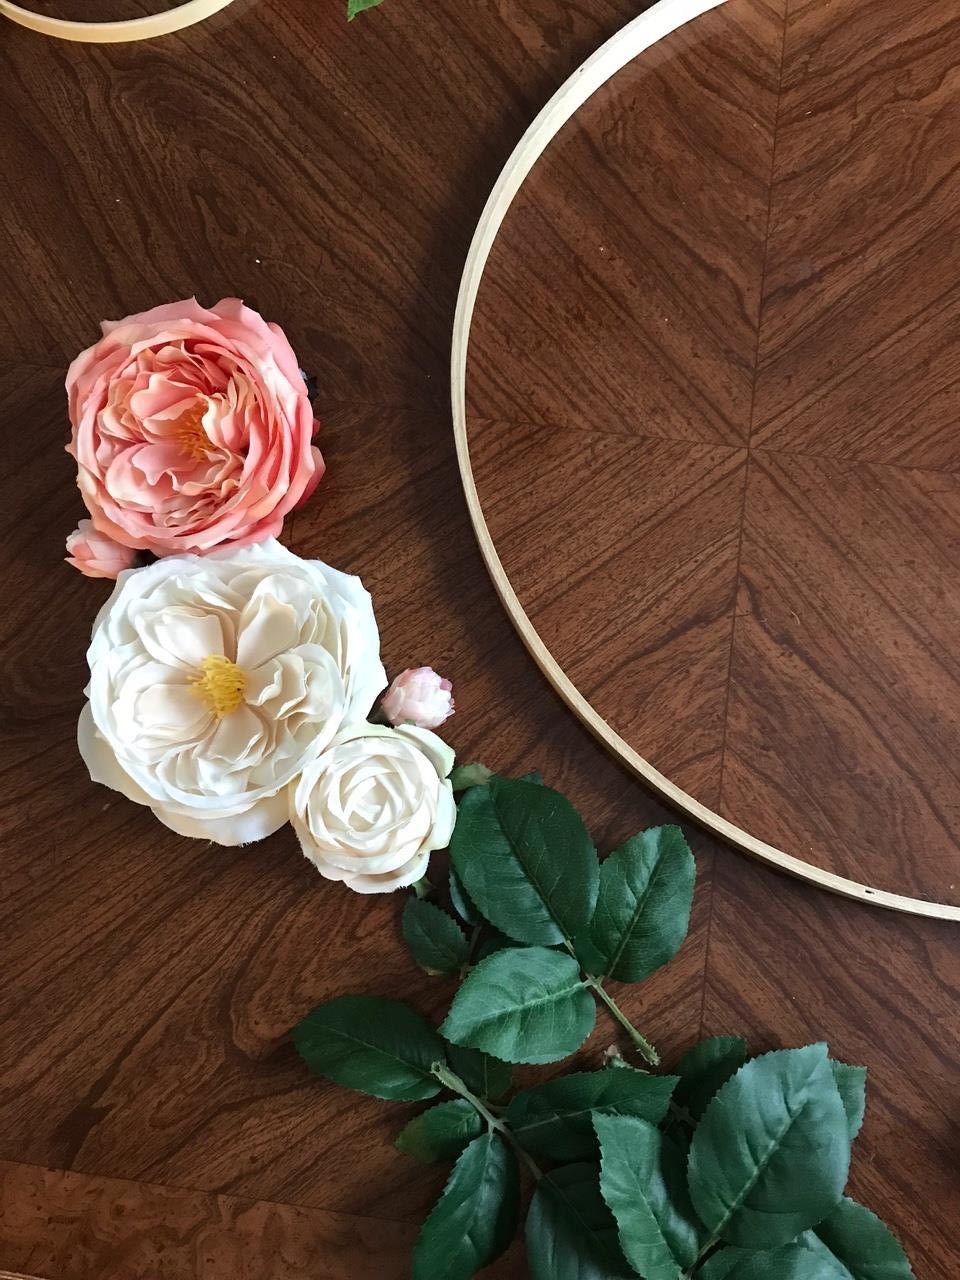
- Silk flowers and greens of your choice (I used various roses, but if I had been able to find peonies in the right colors, I would have used those, too!)
- Hot glue & glue gun

If you want to maximize the use you get out of your embroidery hoops, you can use both the inner and outer hoops, but I haven't decided how I'm going to hang these yet, and I didn't want the added weight of the clamps on the outer hoops, so I removed those and set them aside. If you choose to use the outer hoops as well, just make sure you cover up the clamps with your flowers, and know that your hoops will list even more to the one side than they would with just the flowers. I also considered painting the hoops gold (just because I love it), but ultimately decided that I preferred the natural wood of the hoops with the flowers. If you want to paint your hoops, now is the time to do it!
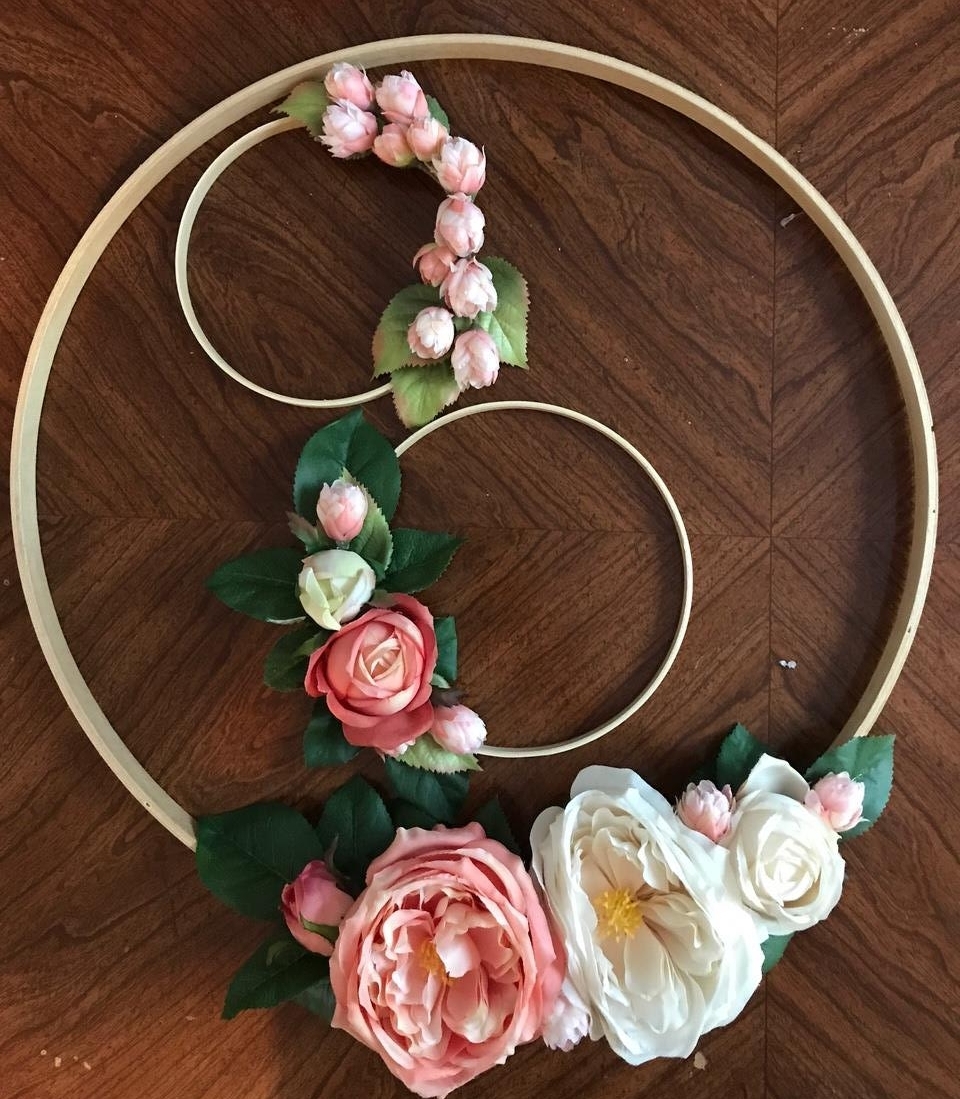
Once your hoops are ready (and dry!), remove all of your flowers and leaves from their stems. This way you can lay them out and get an idea of how you want each wreath to look, You can either lay them out directly on the hoop, or next to it, in the same general shape. I try to use odd numbers of flowers.
Now, you're going to glue on your leaves. You want them to stick out from behind and under your flowers, so spread them out a little, but try not to leave too many large gaps in your groupings. In the picture below, I did leave space between the leaves going opposite directions that would be filled with flowers, but in the end, I wish I had added a little more greenery.

Once you have all of your leaves the way you want them, add your flowers! I found that the easiest way to do this was to put hot glue on the back of the flower and the small stem part still attached, and attach it to both the top of the hoop, and the inner edge, if that makes sense (sorry, I didn't get a picture of that!).

Keep adding!

Once you have all your flowers in place, that's it- you're done! See? Easy-peasy! And so pretty!
Like I said, I haven't decided how, exactly I'm going to hang these, but you can tie on some ribbon, add a loop to the back, or probably even hang them directly on hooks on the wall. Now- I need to go paint the girls' room to I can put them up! I can't wait to see them on their wall!